If you live in the interior of BC or traveled outside of Vancouver you would see your regularly scheduled thunderstorms otherwise it’s Raincity Vancity.
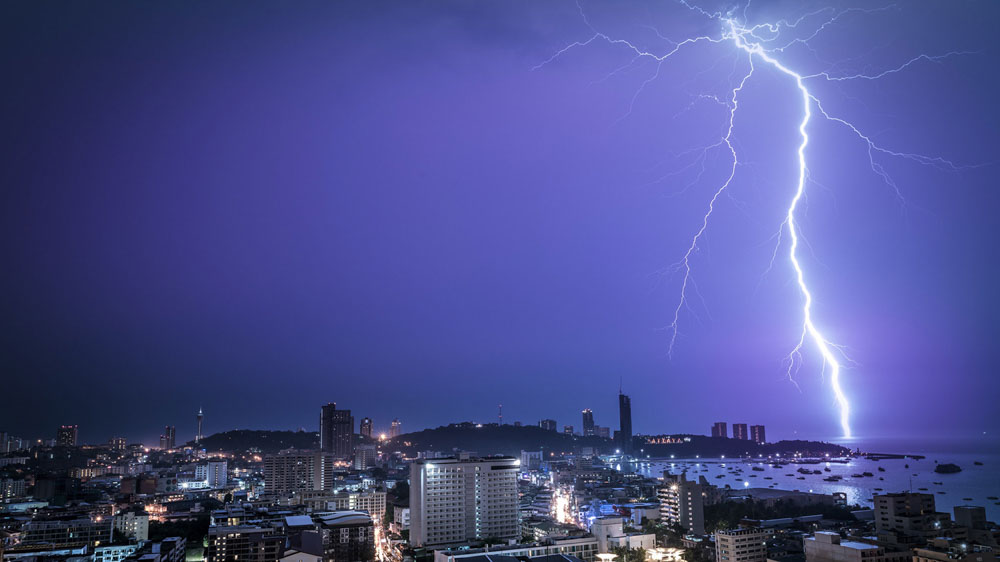
A lot of people think this is photoshop but its the real thing.
It takes more than geographical locations to photograph a thunder storms it’s also the right vantage point, transportation, implementation of safety precautions, gear and the right camera settings. It may sound like a lot and it sort of is but it’s mostly logistical. Like most things in life it pays to plan in advance.
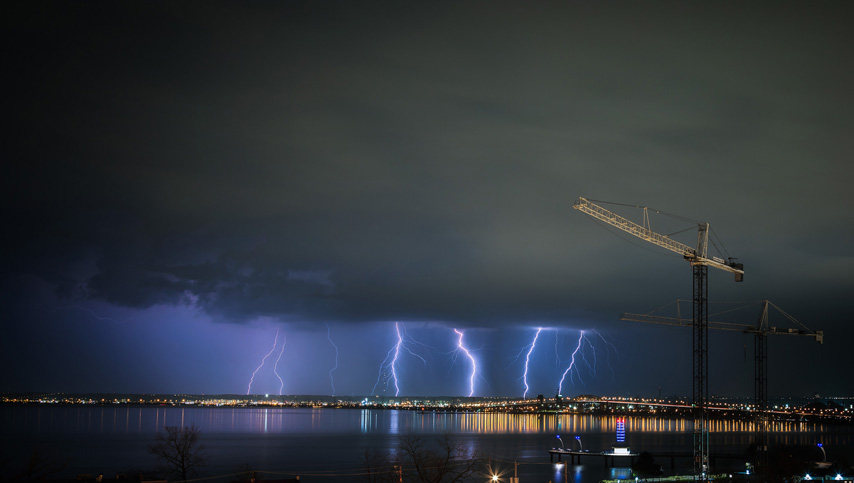
One of our first shots at photographing lightening.
Photographing Pattaya’s Thunder and Lightening
Try some of these recommendations when storm chasing: a good weather app – 15 best weather apps, a solid photographers landscaping app – Sun Surveyor (we have the paid version and use it often) this’ll help determine the position of the stars and moon to include in compositions if storms are off in a distance, and simply Google the region, area or country for rainy seasons with thunder storms.
The reason we wanted to photograph thunder storms and lightning storms is because we’re currently living through rainy season here in Thailand. For this time of year rainy season in Thailand starts mid May to mid October. We were witnessing some very loud earth, house shaking and cracking storms during this season.
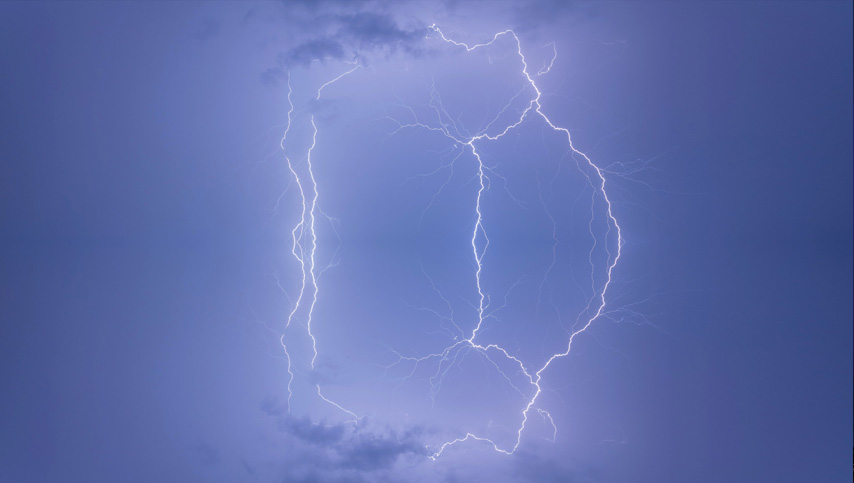
With this photo we just reflected the lightening in on itself at the center of the image.
The biggest challenges for us in planning to photograph a thunder storms was getting ahead of it and safely into position. We were always having something on our schedule and couldn’t get ourselves organized properly. As the storms became more severe the photographers guilt was really sinking in from not getting out there to snap these shots.
For every thunderstorm we missed it was making us more frustrated and angry with ourselves.
So with all excuses out of the way we finally took action. The first thing to do was scout locations. This was completed by scouting the best vantage points when downtown Pattaya. I would drop into condos and shops and see if I could access the roofs with authorization from property managers. Now I know most roof top photographers would bypass this step but we’re new here and we don’t need to be off to a bad start in our new hometown.
Hoping Mother Nature Puts on a Show
The second thing I did was to do a bit of research on all the dates and durations of not only the rainy season but the hot and cool seasons as well. Here I learned that Thailand weather for a calendar year consists of six months of rainfall during wet season, three months of dry and cool temperatures during cool season, and three months of heat during hot season.
The average temperature of Thailand ranges from 18 to 38°C. The official website of Amazing Thailand had a link that has some valuable info if you’re planning a trip here and need to know the weather seasons in advance not just for photographers but vacationers as well – About Thailand Weather.
Once I had all my locations narrowed down and confirmed and research of local and national weather patterns, I prepped my bag. When I had my gear bagged and ready I put it to the side so I could take it on a moment’s notice when ‘go’ time arrived.
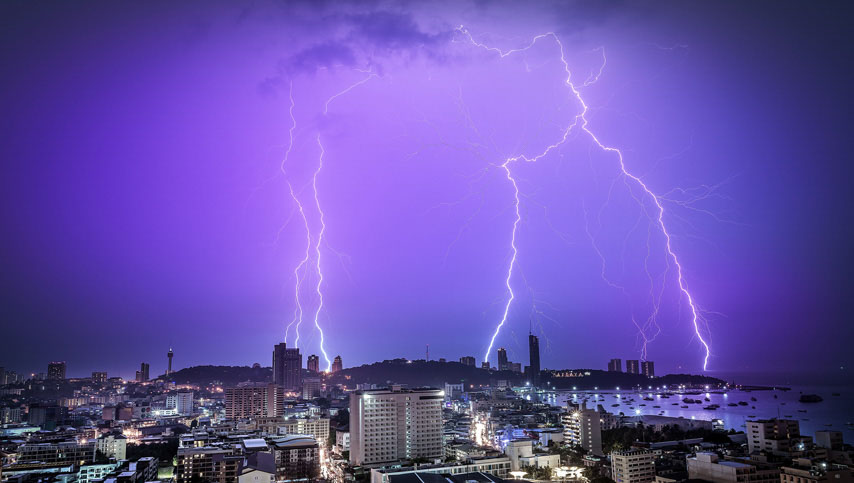
Its as if Pattaya’s nightlife is being recharged from the power coming from the sky.
The position of his balcony faced South, on the 24th floor from the mid point of downtown Pattaya. The balcony was small and it allowed sufficient headroom from the rain. With all my checks and preps completed storm chasing day arrived. My Accu weather app called for severe thunderstorms and showers.
The entire day was overcast with clouds that were dark and ominously large but the storm wouldn’t start until evening. It was a little tricky but prior to my scooter days in Vancouver, I traveled with much more gear.
View this post on InstagramA post shared by DV RAW Files (@dv_raw_files) on
Photographing the Thunder and Lightening
In the room and prepped both my cameras and settings to begin shooting immediately. I put both cameras into bulb mode with a mirror lockup setting initially. I was keeping the shutter open in bulb mode with 20 – 30 second shutters in attempt to capture the strikes.
When the strikes would flash I’d snap the shutter shut for 2 seconds to make sure I got the image.
I connected the Timer Remote TC 80N3 to the MK III, placed the settings of the cam into bulb mode with mirror lock up, f-stop was f 13 and the timer remote programed to 20 second intervals with 2 second delay to get the mirror lockup back up and down. For the 5DSR same settings with the internal intervalometer.
I found these settings to be far more productive and captured a multitude of significant lighting strikes. The ISO was 320 which helped balanced the ambient city lights with the dark skies.
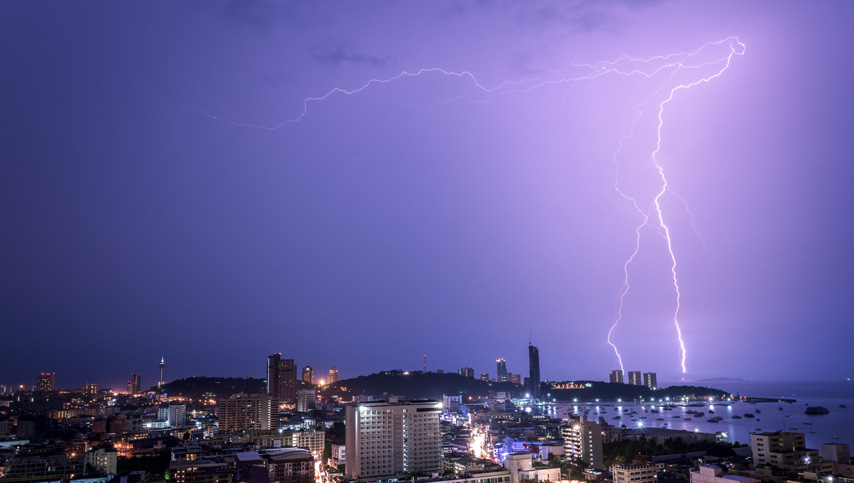
It was amazing to see the lightening crawl across the sky.
These photos are from the night of October 7th, 2017 in Pattaya City. People were telling me they hadn’t seen or heard a storm of this severity in a many years. So it sounds like we caught a big fish with this project and all the planning was worth it.
Learn More About Our Photography
If you’re interested in knowing more about our story you can subscribe to our YouTube Channel – Double Vision Photography and follow our vlog ‘The RAW Files’. Connect with us on social media Twitter and Facebook to keep up to date on our latest updates follow our Instagram feeds to see our latest work and don’t forget we’d love to hear from you.
Click Here to view the full galleryPortrait Photography
Double Vision Photography | Landscape & Fine Art
Let us know if you any other tips or questions for storm chasing thunder storm photography. Thank you for taking the time to read our posts and watch our videos we truly appreciate it.
The Technical Specs:
- Canon 5DSR – Main Camera.
- Canon 5D MK III – Secondary Camera.
- Manfrotto Tripod 755 XB with Manfrotto 804 RC2 adjustable head – Main tripod.
- Velbon Sherpa 200R Tripod – Secondary Tripod.
- Canon Timer Remote Controller TC 80N3 – used with MK III. 5DSR has its own built in timer.
- Glass – Canon EF 17 -40 mm f/4L – Main Camera 5DSr for the wide city shot.
- Glass – Canon EF 70 – 200mm F/2.8L IS – II – Secondary for tight shots of city activity.
- Digi Finder Pro – A loupe style finder to examine quality and sharpness on the back of the LCD’s of each Canon cam body.
- Giottos Air Blower – Clean lens with an air blast prior and during shooting.
- Micro-fiber cloth
